Manage team invitations and access
Use the Team settings to work with the membership controls available to your account. A team membership does not automatically make every conversation, project, or artifact shared.
Invite and verify a member
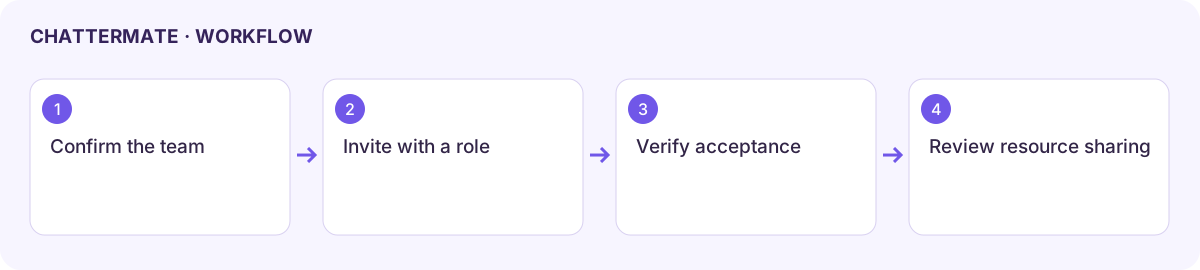
Section titled “Invite and verify a member”- Open the active team and check its name. If creating a team, choose a recognisable name and review the plan’s membership limits.
- Choose the invitation action, enter the intended email, and select the role offered by the interface.
- Review the address and role before sending. Use the least access that supports the person’s work.
- Find the invitation in the pending list. A sent invitation is not an accepted membership.
- Ask the recipient to open their invitation, sign in with the intended account, and complete the supported acceptance flow. Confirm the member appears with the expected role.
Review existing access
Section titled “Review existing access”Read the available role descriptions instead of assuming the same roles in every workspace. Roles and seat limits can differ by deployment. Check which controls your own role can use before changing another member.
If an invitation is missing or expired, inspect its status and the available resend or cancel control. Reconfirm the address before issuing a replacement. If membership removal is offered, review its effect on shared resources before proceeding.
Share the actual work
Section titled “Share the actual work”Use each conversation, Writer document, or project’s supported sharing controls for the intended audience. Verify view, edit, download, password, and expiry settings where available. Team membership and a public share link are separate forms of access.
Next: team overview, conversation sharing, and Writer sharing.
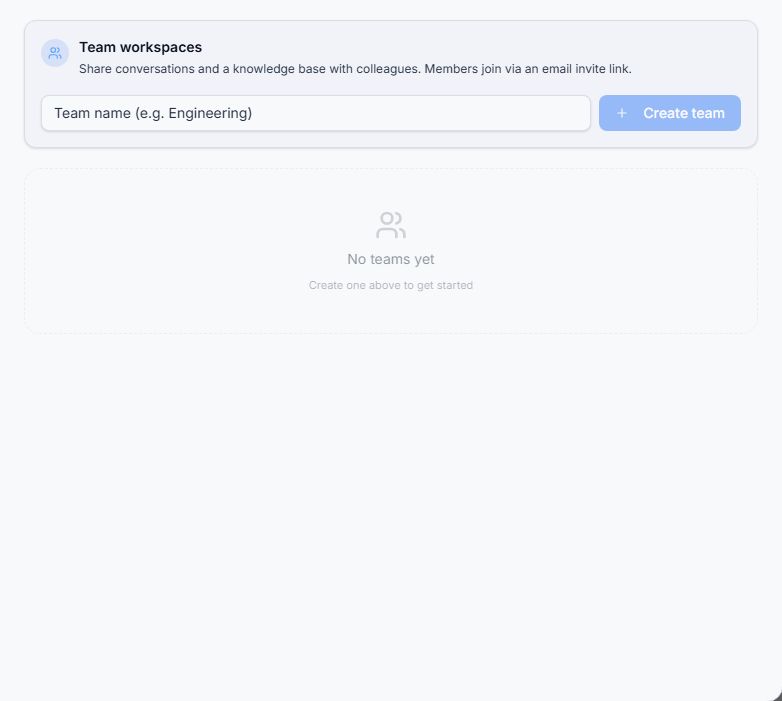
Team settings and its organization empty state.
Workflow at a glance
Section titled “Workflow at a glance”